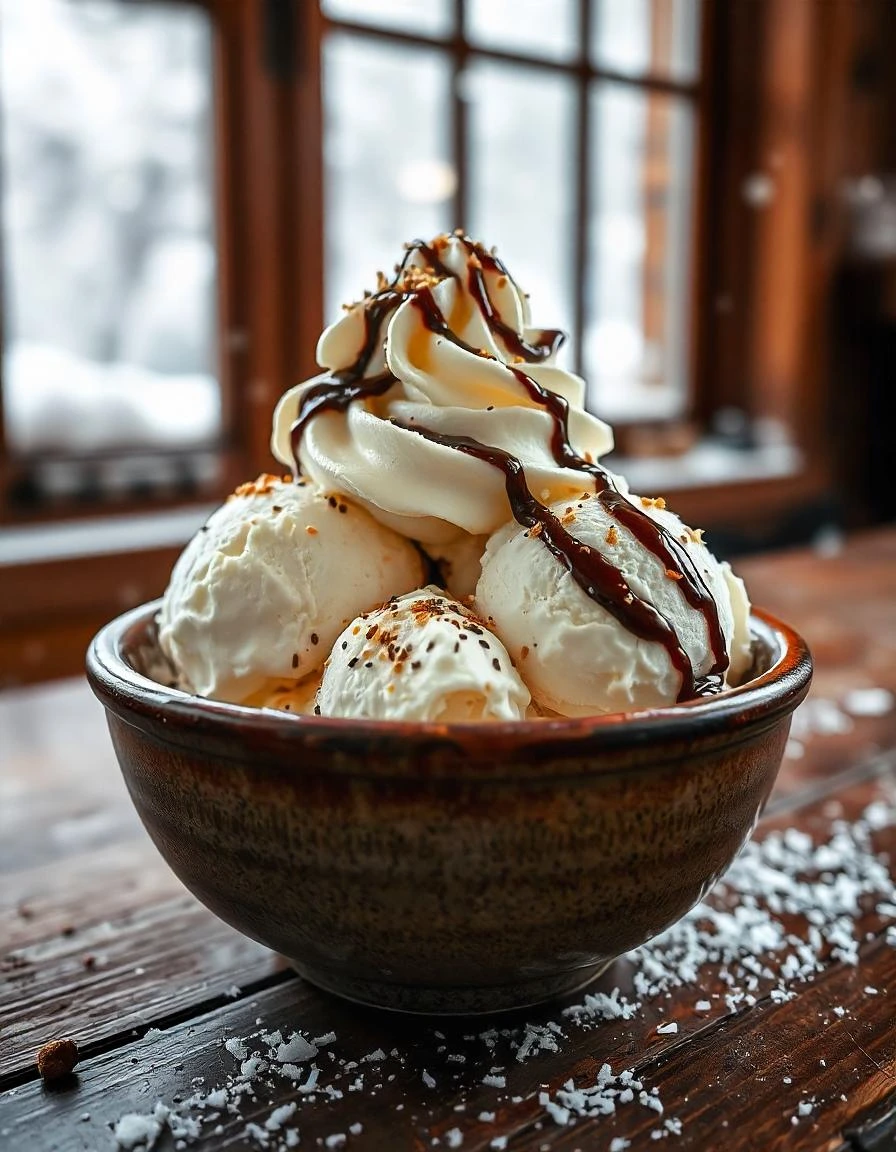
Alright, let’s talk about snow days. You know, those magical mornings when the world outside looks like a glittery postcard, and you’re inside, wrapped in a blanket, sipping something warm. But what if I told you there’s a way to take that snowy wonderland and turn it into a creamy, dreamy dessert? Yep, I’m talking about Snow Ice Cream—a super simple, nostalgic treat that’s as fun to make as it is to eat. Whether you’re a kid at heart or just looking for a way to jazz up a snowy afternoon, this recipe is your golden ticket. Trust me, once you try it, you’ll be counting down the days until the next snowfall.
Background/History
Snow ice cream isn’t some newfangled trend—it’s been around for ages. Think back to old-school traditions where folks would mix snow with honey, fruit, or even a splash of cream to create a sweet winter treat. It’s the kind of thing your grandma might’ve made, and honestly, that’s part of its charm. It’s simple, comforting, and totally customizable—kind of like the Classic Waffle recipe of desserts. Whether you’re a purist or someone who loves to experiment with flavors, snow ice cream is your blank canvas. And hey, if you’re into cozy winter recipes, you’ve gotta check out this No-Bake Neapolitan Cheesecake Pie for more ideas.
Ingredients and Tools
Here’s the deal: you don’t need a ton of fancy ingredients or equipment to make snow ice cream. In fact, you probably have most of this stuff in your kitchen right now.
Ingredients
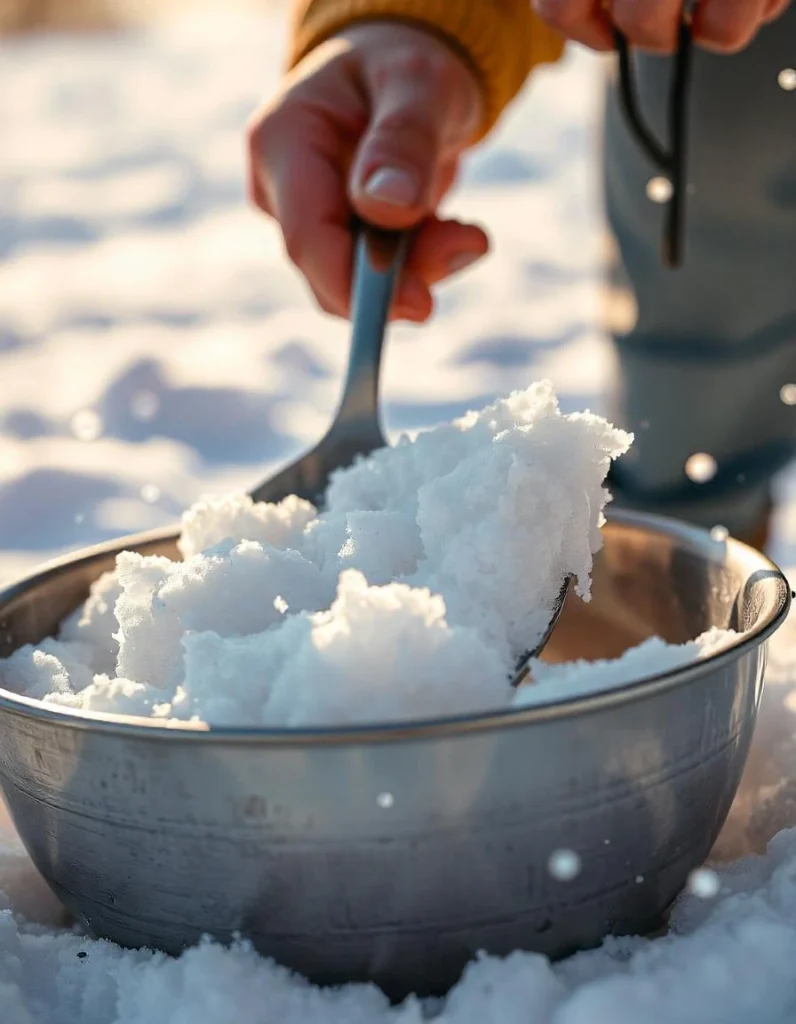
- 8–10 cups of fresh, clean snow (this is the star of the show, so make sure it’s fresh and untouched!)
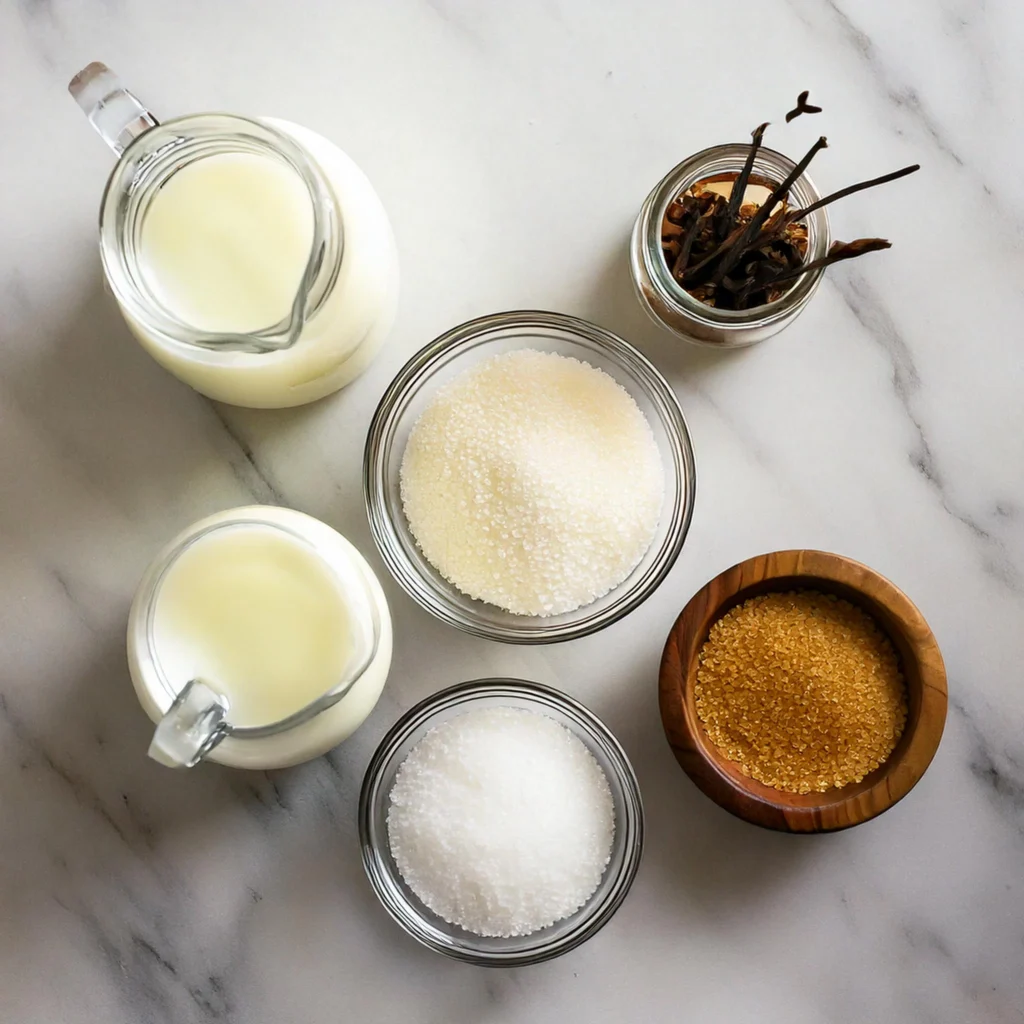
- 1 cup of milk (whole milk for creaminess, or almond/coconut milk for a dairy-free twist)
- 1/3 cup of granulated sugar (or swap for honey or maple syrup if you’re feeling fancy)
- 1 teaspoon of pure vanilla extract (because vanilla makes everything better)
- Pinch of salt (to balance out the sweetness)
Toppings (Optional)
- Sprinkles (because who doesn’t love sprinkles?)
- Chocolate chips or cocoa powder
- Crushed cookies or graham crackers
- Whipped cream
- Fresh fruit like berries or banana slices
Tools
- A big mixing bowl (the bigger, the better)
- A whisk or wooden spoon (your arm workout for the day)
- Measuring cups and spoons (for precision, or just eyeball it—you do you)
- Serving bowls or cones (for that authentic ice cream vibe)
How to Prepare
Making snow ice cream is about as easy as it gets. You’re basically mixing snow with a sweet, creamy base to create something that’s light, fluffy, and totally delicious. The trick is to keep everything cold—think of it like building a snowman, but way tastier.
Step-by-Step Instructions
- Grab the Snow: Head outside with your big bowl and scoop up 8–10 cups of fresh, clean snow. Pro tip: avoid the top layer (it might have dirt or pollutants) and the bottom layer (it could be icy). Aim for that fluffy middle layer—it’s the good stuff.
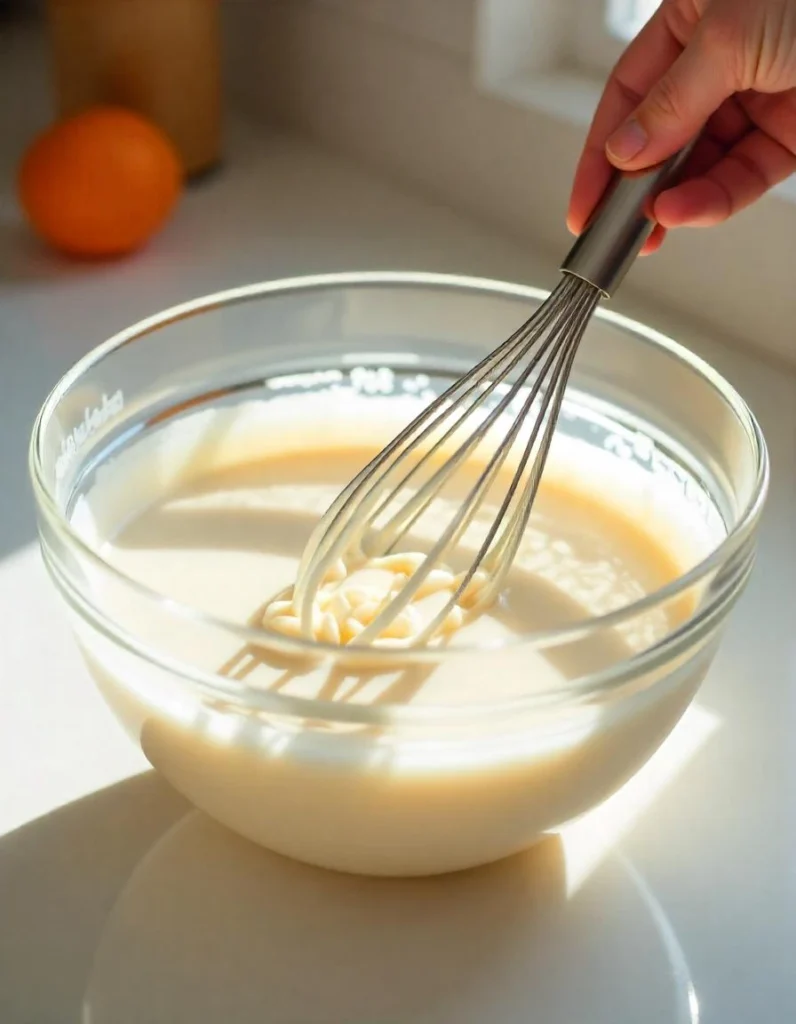
- Mix the Base: In a separate bowl, whisk together the milk, sugar, vanilla extract, and a pinch of salt. Keep whisking until the sugar dissolves.
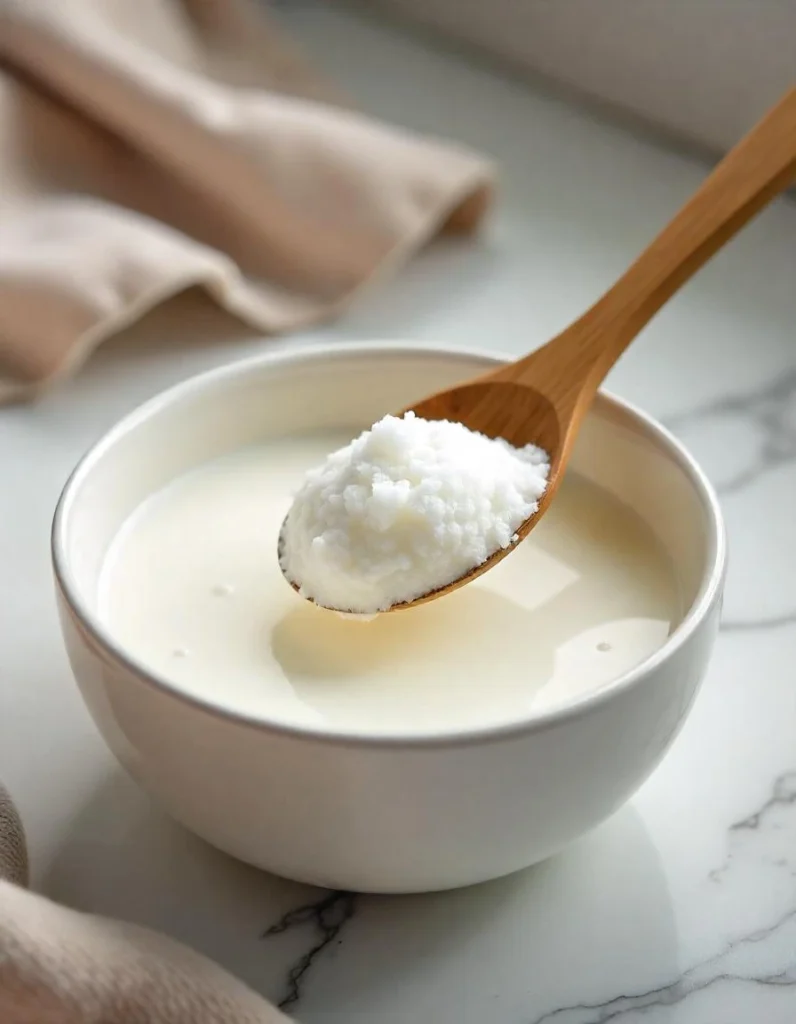
- Combine and Stir: Slowly pour the milk mixture over the snow, stirring gently as you go. Keep adding snow until you get a thick, creamy consistency—kind of like soft-serve ice cream.

- Serve Right Away: Scoop it into bowls or cones, add your favorite toppings, and dig in!

Pro Tips
- Chill Your Tools: Pop your mixing bowl and utensils in the freezer for a few minutes before you start. This helps keep the snow from melting too fast.
- Adjust as You Go: If your mixture is too runny, add more snow. Too thick? Add a splash of milk. It’s all about finding that perfect balance.
- Get Creative: Swap vanilla for peppermint extract, cocoa powder, or even a splash of eggnog for a holiday twist.
Nutrition Facts
| Nutrient | Amount per Serving |
|---|---|
| Calories | 120 |
| Total Fat | 2g |
| Cholesterol | 5mg |
| Sodium | 30mg |
| Total Carbohydrates | 25g |
| Protein | 2g |
Nutritional Benefits
Here’s the thing: snow ice cream isn’t just tasty—it’s also a lighter alternative to regular ice cream. The milk gives you a bit of calcium and protein, and the snow keeps it low in calories. Plus, if you use natural sweeteners like honey or maple syrup, you’re adding a touch of antioxidants. It’s a treat you can feel good about!
Variations of the Recipe
- Chocolate Lover’s Dream: Add 2 tablespoons of cocoa powder to the milk mixture.
- Fruity Fun: Blend in fresh strawberries or mango puree for a tropical twist.
- Vegan Version: Use coconut milk and maple syrup.
- Holiday Twist: Add crushed candy canes or a dash of cinnamon for a festive vibe.
Common Mistakes to Avoid
Let’s be real—snow ice cream is pretty foolproof, but there are a few pitfalls that can turn your frosty treat into a slushy mess. Here’s how to avoid them:
- Using Dirty Snow:
Okay, this one’s a biggie. Not all snow is created equal, and you definitely don’t want to scoop up the first layer you see. The top layer can have dirt, pollutants, or even bird droppings (yuck!), and the bottom layer might be icy or mixed with grass. The sweet spot? That fluffy, untouched middle layer. Pro tip: If you’re not sure about the cleanliness of your snow, let it sit for a bit after it falls—nature’s way of giving it a quick rinse. - Overmixing:
Here’s the thing: snow ice cream is all about that light, fluffy texture. If you go ham with the stirring, you’ll end up with something more like a snow slushie. And while that’s not the worst thing in the world, it’s not the dreamy, creamy treat we’re going for. So, take it easy—gentle folds are your friend. Think of it like folding whipped cream into a mousse, not beating eggs for an omelet. - Waiting Too Long:
Snow ice cream is the definition of “here for a good time, not a long time.” Seriously, this stuff melts faster than you can say “winter wonderland.” Once you’ve mixed it up, serve it immediately. If you let it sit, you’ll end up with a puddle instead of a dessert. And hey, if you’re worried about timing, just have your toppings and bowls ready to go before you even step outside.
So, there you have it—three simple tips to keep your snow ice cream game strong. Follow these, and you’ll be the snow day hero everyone’s talking about.
Serving Suggestions
Pair your snow ice cream with a warm drink like Peanut Butter Banana Cream Pie or spiced apple cider. For a fun twist, serve it in waffle cones or top with a drizzle of caramel sauce.
Healthier Alternatives
Let’s be real—sometimes you want to indulge without going overboard. Luckily, snow ice cream is one of those treats that’s super easy to tweak for a healthier twist. Here’s how you can lighten it up without sacrificing flavor:
- Swap Sugar for Stevia or Monk Fruit Sweetener: If you’re watching your sugar intake, stevia or monk fruit sweetener are fantastic options. They’re natural, zero-calorie sweeteners that won’t spike your blood sugar. Plus, they blend seamlessly into the milk mixture, so you won’t even notice the difference. Just start with a small amount and adjust to taste—these sweeteners can be pretty potent!
- Use Unsweetened Almond Milk for a Lower-Calorie Base: Whole milk is creamy and delicious, but if you’re looking to cut calories or go dairy-free, unsweetened almond milk is a great alternative. It’s light, slightly nutty, and adds a subtle flavor that pairs perfectly with the snow. Plus, it’s lower in calories and fat, so you can enjoy your dessert guilt-free.
- Add Fresh Fruit Instead of Sugary Toppings: Let’s face it, toppings can make or break a dessert. Instead of reaching for sprinkles or chocolate chips, try fresh fruit like sliced strawberries, blueberries, or banana slices. They add natural sweetness, a pop of color, and a boost of vitamins. If you’re feeling fancy, you can even mash the fruit into a puree and swirl it into the snow ice cream for a fruity twist.
And hey, if you’re really into healthier swaps, you can even experiment with other plant-based milks like oat or cashew milk. The possibilities are endless, and honestly, it’s kind of fun to play around with different combinations. Who knew eating healthier could still feel like a treat?
Other Yummy Recipes
If you’re loving this winter vibe, check out these cozy recipes:
- Cinnamon Roll Pancakes
- Nutella Fudge Brownies
- Lemon Cream Cheese Coffee Cake
- Taco Bell Chicken Nuggets Gone
FAQs
Q: Is it safe to eat snow ice cream?
A: Totally! Just make sure you’re using clean, freshly fallen snow from a safe area.
Q: Can I make snow ice cream without snow?
A: Sure thing! Shaved ice works as a great substitute.
Q: How long does snow ice cream last?
A: It’s best enjoyed right away, but you can store it in the freezer for a few hours if needed.
Conclusion
Snow ice cream is more than just a dessert—it’s a celebration of winter’s magic. It’s the kind of recipe that turns a snowy day into something special, whether you’re making it with your kids, your friends, or just treating yourself to a little moment of joy. Honestly, there’s something so nostalgic about it—like, who didn’t grow up dreaming of eating snow? (Okay, maybe not the yellow kind, but you know what I mean.) This recipe takes that childhood fantasy and turns it into something real, creamy, and downright delicious.
So, the next time the snow falls, don’t just see it as something to shovel or trudge through. Grab a bowl, scoop up that fresh, fluffy snow, and turn it into a treat that’ll make you feel like a kid again. And hey, if you’re feeling adventurous, why not try one of the fun variations? Add some cocoa powder for a chocolatey twist, or throw in crushed candy canes for a holiday vibe. Pair it with a steaming mug of Classic Hot Chocolate or spiced apple cider, and you’ve got yourself the ultimate winter combo. Trust me, winter never tasted so good.
Now, go grab that bowl and make some magic. And don’t forget to share your creations with us—snap a pic, tag us on social media with #SnowIceCreamMagic, and let’s spread the snowy joy. Happy scooping, friends!
Print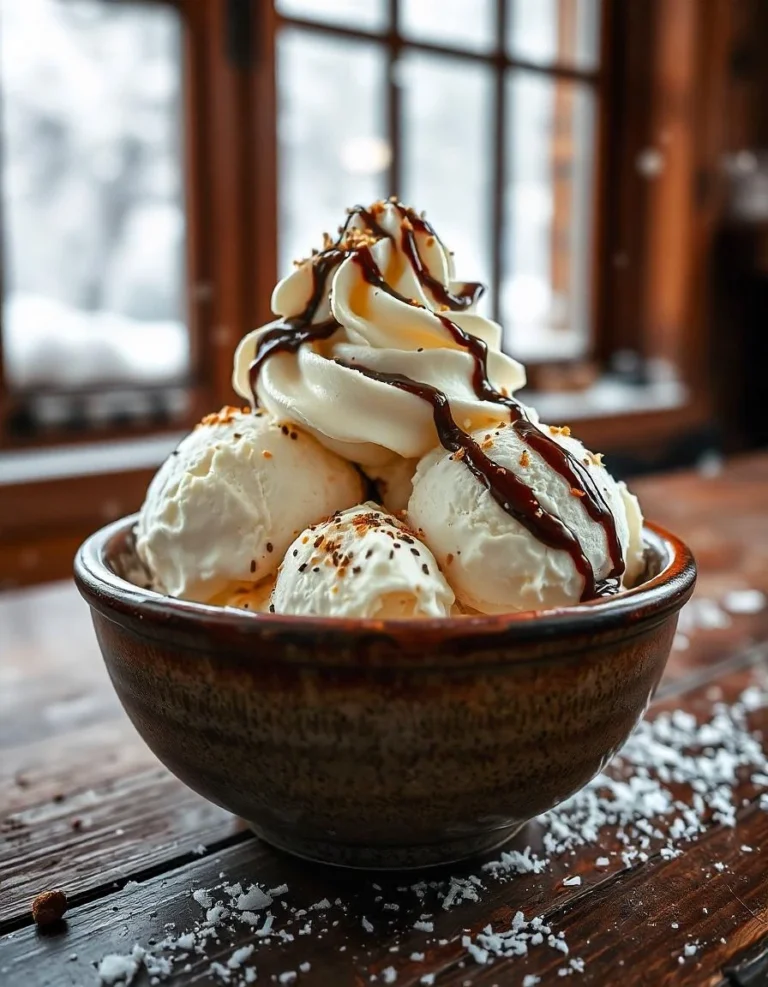
Snow Ice Cream Recipe: A Fun, Frosty Treat That’s Pure Winter Magic
Turn a snowy day into a sweet adventure with this easy and delightful Snow Ice Cream Recipe! Made with fresh, clean snow and a few simple ingredients, this creamy, dreamy dessert is perfect for kids and adults alike. Whether you’re looking for a fun winter activity or a unique treat to enjoy by the fire, this recipe is sure to bring joy to your snow day. Top it with your favorite goodies like sprinkles, chocolate chips, or fresh fruit for a personalized touch. Let’s make winter magic together!
- Total Time: 10 minutes
- Yield: 4 servings
Ingredients
8–10 cups of fresh, clean snow (collected from a clean, untouched area)
1 cup of milk (whole, almond, or coconut milk)
1/3 cup of granulated sugar (or substitute with honey or maple syrup)
1 teaspoon of pure vanilla extract
Pinch of salt
Optional Toppings:
Sprinkles
Chocolate chips
Crushed cookies
Whipped cream
Fresh fruit
Instructions
Collect the Snow: Head outside with a large bowl and scoop up 8–10 cups of fresh, clean snow. Avoid the top layer (it might have dirt or pollutants) and the bottom layer (it could be icy). Aim for the fluffy middle layer.
Mix the Base: In a separate bowl, whisk together the milk, sugar, vanilla extract, and a pinch of salt until the sugar dissolves.
Combine and Stir: Gradually pour the milk mixture over the snow, stirring gently as you go. Keep adding snow until you reach a thick, creamy consistency—like soft-serve ice cream.
Serve Immediately: Scoop into bowls or cones, add your favorite toppings, and enjoy!
Notes
Snow Quality: Always use clean, freshly fallen snow from a safe area.
Chill Your Tools: Keep your mixing bowl and utensils in the freezer for a few minutes before starting to prevent the snow from melting too quickly.
Customize: Swap vanilla for peppermint extract, cocoa powder, or even a splash of eggnog for a festive twist.
Storage: Snow ice cream is best enjoyed immediately but can be stored in the freezer for a few hours if needed.
- Prep Time: 10 minutes
- Cook Time: 0 minute
- Category: Dessert
- Method: no-cook
- Cuisine: American
- Diet: Vegetarian
Nutrition
- Serving Size: per serving
- Calories: 120 kcal
- Sodium: 30mg
- Fat: 2g
- Carbohydrates: 25g
- Protein: 2g
- Cholesterol: 5mg
Keywords: snow ice cream recipe, homemade snow ice cream, easy snow ice cream, winter snow ice cream, snow day dessert, creamy snow ice cream, how to make snow ice cream, snow cream recipe, fun snow dessert, kid-friendly winter treat

