Okay, let’s be real for a second—dessert should never feel like a chore. And honestly, who has time to spend hours in the kitchen when you’re craving something sweet? That’s where this No-Bake Neapolitan Cheesecake Pie comes in. It’s the kind of dessert that looks like you slaved over it, but secretly, it’s a total breeze to make. With layers of chocolate, vanilla, and strawberry cheesecake nestled in a buttery graham cracker crust, this pie is a guaranteed crowd-pleaser. Whether you’re hosting a dinner party or just treating yourself (because, let’s face it, you deserve it), this recipe is about to become your new go-to.
The Story Behind the Pie
So, Neapolitan desserts have been around forever, right? I mean, who doesn’t love the classic combo of chocolate, vanilla, and strawberry? It’s like a flavor trifecta that just works. Cheesecake, on the other hand, has been a thing since, well, ancient times. But let’s be honest—it’s the no-bake version that stole our hearts. This pie? It’s a mashup of those two iconic treats, and let me tell you, it’s a match made in dessert heaven. If you’re into no-bake desserts, you’ll also love this Buckeyes recipe—it’s another crowd favorite.
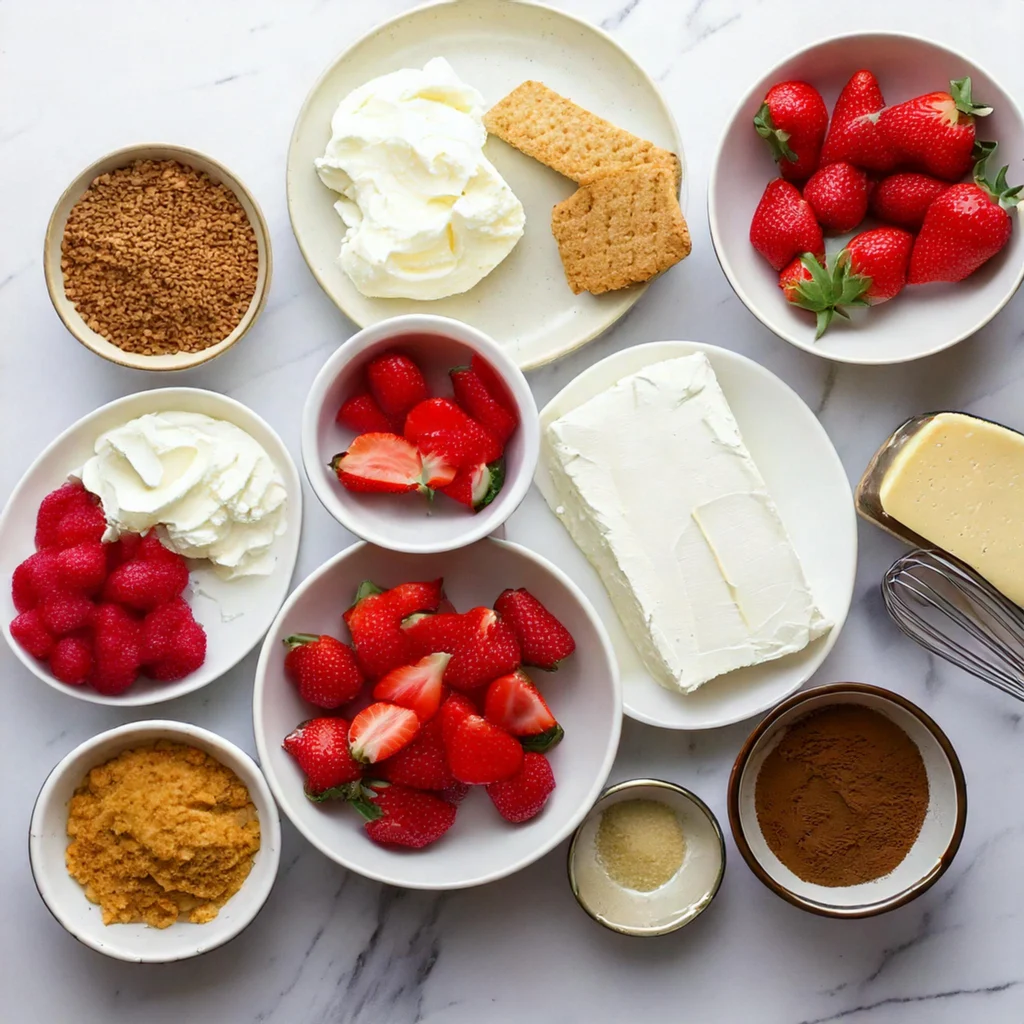
What You’ll Need
Alright, before we get started, let’s make sure you’ve got everything on hand. Trust me, this recipe is so simple, you probably already have most of these ingredients in your kitchen.
For the Crust:
2 cups graham cracker crumbs (the base of every great pie, you know?)
1/2 cup melted butter (to hold it all together—don’t skip this!)
2 tbsp sugar (for a touch of sweetness, because why not?)
For the Cheesecake Filling:
16 oz cream cheese, softened (this is the star of the show, so don’t skimp)
1 cup heavy cream (for that fluffy, dreamy texture)
1/2 cup powdered sugar (just enough sweetness, trust me)
1 tsp vanilla extract (for that classic flavor we all love)
For the Layers:
1/4 cup chocolate syrup (rich, decadent, and oh-so-good)
1/4 cup strawberry puree (fresh or frozen strawberries blended smooth—easy peasy)
Tools You’ll Need:
🥄 Mixing bowls (because, well, you gotta mix stuff)
🍴 Hand mixer or stand mixer (for that creamy filling)
🍰 9-inch pie dish (the stage for your masterpiece)
🍶 Spatula (for smoothing and swirling like a pro)
How to Make It
Alright, here’s the deal: this recipe is all about layering flavors and textures to create a dessert that’s as beautiful as it is delicious. We start with a buttery graham cracker crust (because every great pie starts with a great crust, right?), then build a creamy cheesecake filling that’s divided into three luscious layers: chocolate, vanilla, and strawberry. The best part? It’s no-bake, so you can whip it up in no time and let the fridge do the rest of the work.
Step-by-Step Instructions
Let’s break it down, step by step. Don’t worry—I’ll walk you through it like your favorite foodie friend.
1. Make the Crust
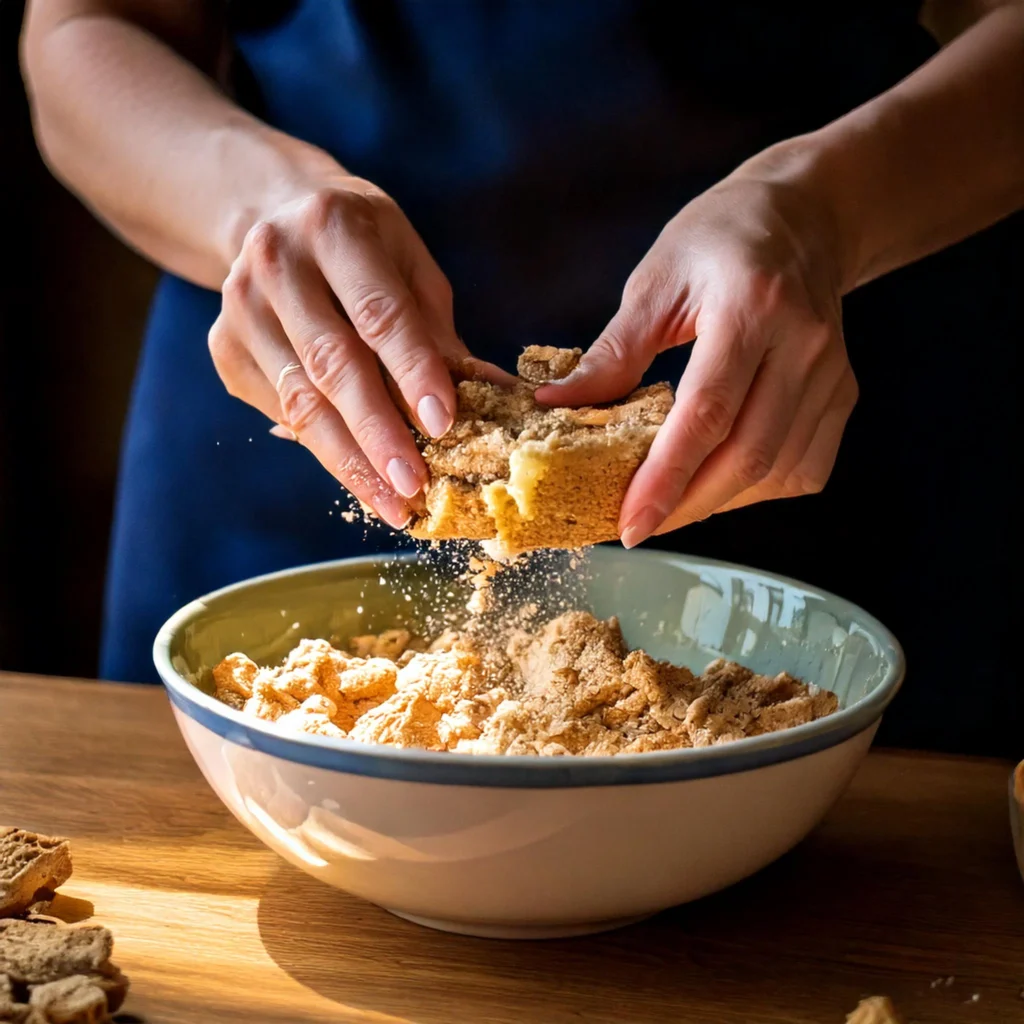
- First, in a bowl, mix the graham cracker crumbs, melted butter, and sugar until it resembles wet sand. (Pro tip: if you press it between your fingers and it holds its shape, you’re good to go.)
- Next, press the mixture firmly into a 9-inch pie dish. Use the bottom of a glass to make it nice and even. Then, pop it in the fridge to set while you prepare the filling.
2. Prepare the Cheesecake Filling
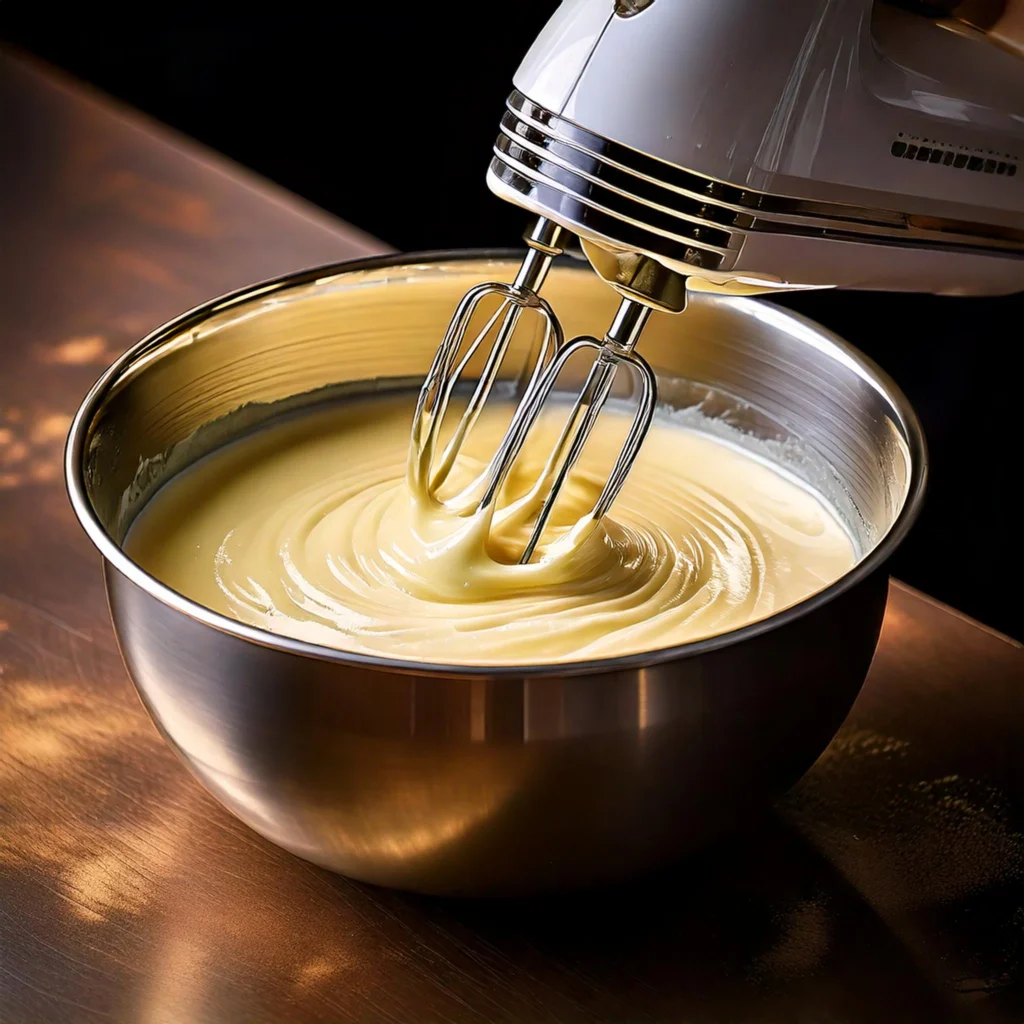
- After that, in a large bowl, beat the softened cream cheese until it’s smooth and creamy. (No lumps allowed—seriously, take your time here.)
- Then, add the powdered sugar and vanilla extract, and mix until everything is combined.
- Meanwhile, in a separate bowl, whip the heavy cream until stiff peaks form. (This is where the magic happens—don’t rush it!)
- Finally, gently fold the whipped cream into the cream cheese mixture. Be careful not to overmix—you want it light and fluffy.
3. Divide and Flavor
- Now, split the cheesecake filling into three equal parts. (Yes, math is involved, but it’s worth it.)
- After that, in one part, mix in the chocolate syrup. In another, mix in the strawberry puree. Leave the third part plain for the vanilla layer.
4. Layer It Up
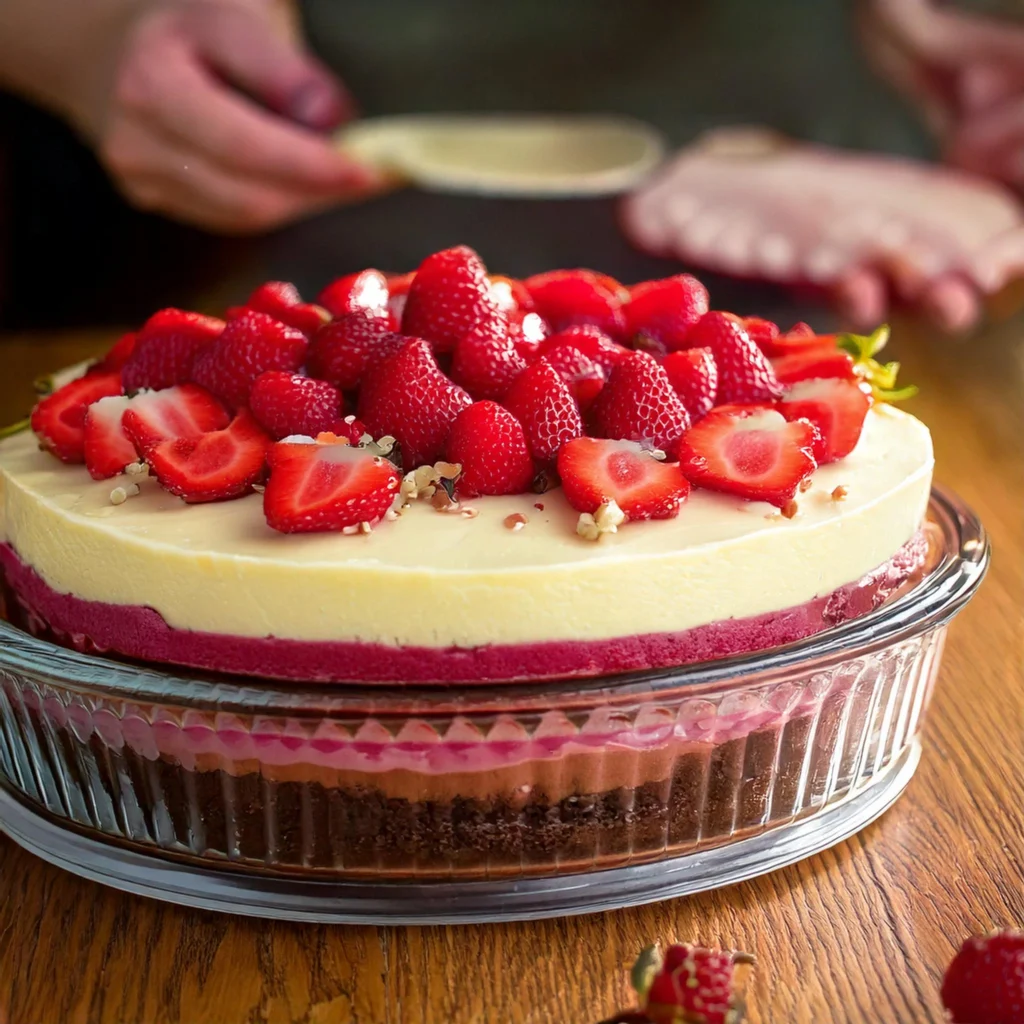
- First, spread the chocolate layer evenly over the crust. (Smooth it out with a spatula for that polished look.)
- Then, carefully add the vanilla layer on top, followed by the strawberry layer. (Take your time—this is where the beauty comes in.)
- Finally, use a knife or toothpick to swirl the layers slightly for a marbled effect. (Don’t overdo it—gentle swirls are key.)
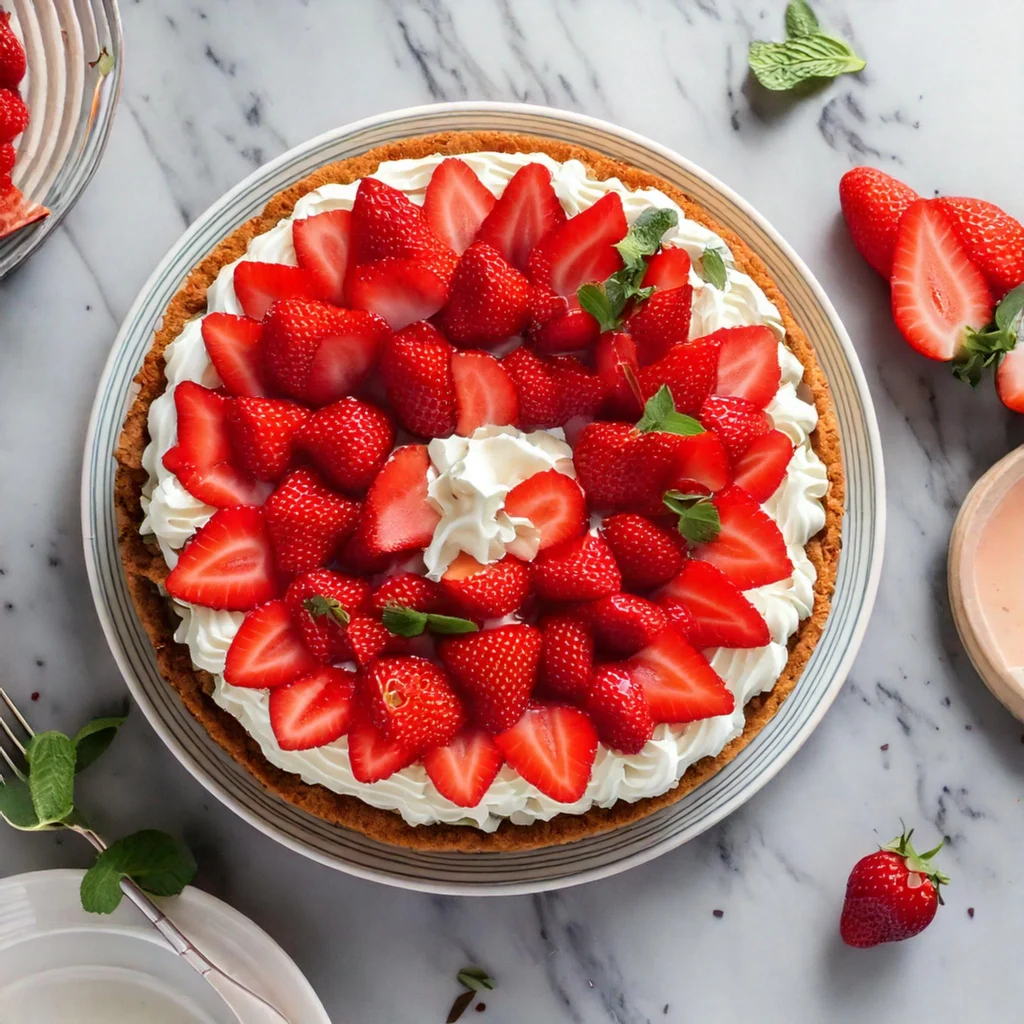
5. Chill and Serve
- After that, refrigerate the pie for at least 4 hours (or overnight) to set. (I know, waiting is the hardest part.)
- Finally, slice, serve, and watch everyone’s eyes light up! (Bonus points if you add a dollop of whipped cream on top.)
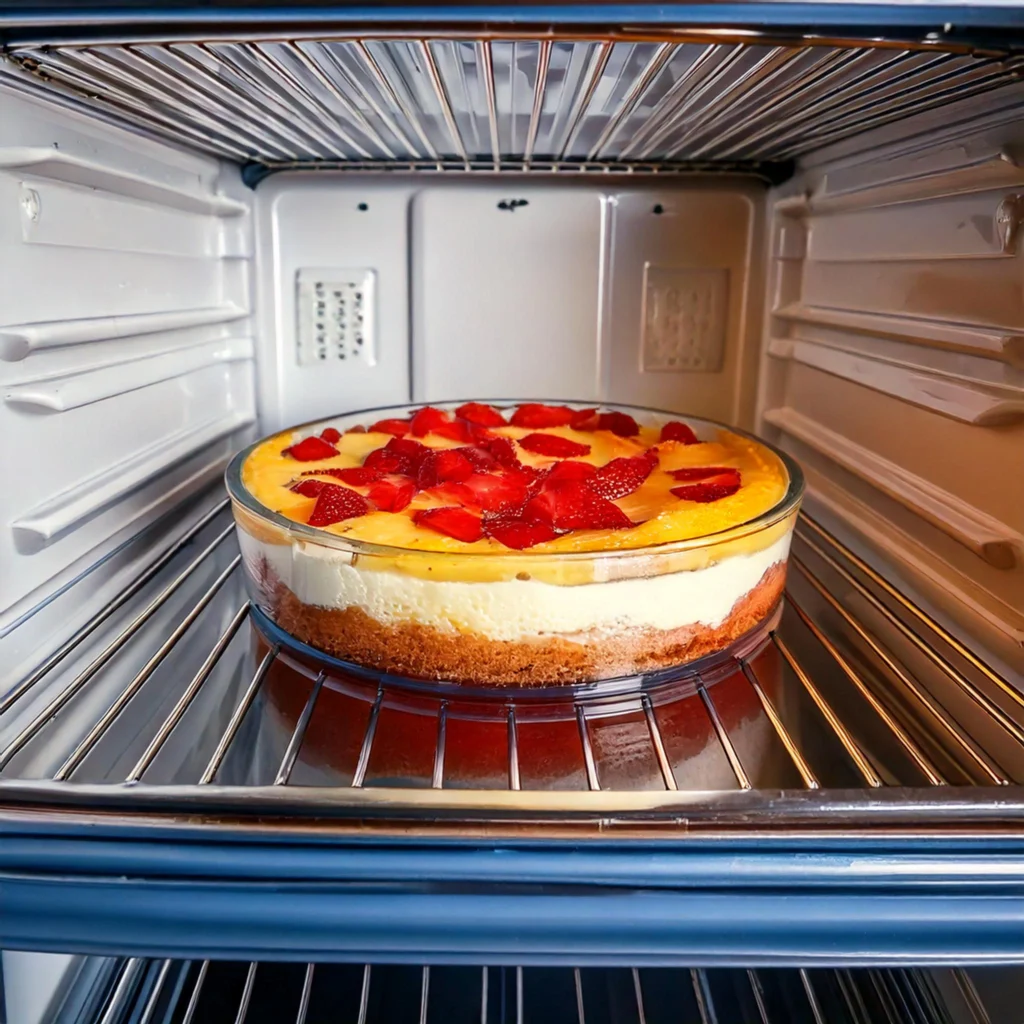
Tips for Success
- Room Temperature Cream Cheese: This is non-negotiable. Cold cream cheese will leave you with a lumpy filling, and nobody wants that.
- Swirl Like a Pro: Don’t overmix the layers—gentle swirls create a beautiful marbled look that’s Insta-worthy.
- Garnish Game: Top with fresh strawberries, chocolate shavings, or a drizzle of caramel for extra flair.
Nutrition Facts
| Serving Size | Calories | Fat | Carbs | Protein |
|---|---|---|---|---|
| 1 slice (1/8 pie) | 320 kcal | 22g | 28g | 4g |
Why This Pie is Good for You
- Cream Cheese: Packed with calcium and protein, it’s the backbone of this dessert.
- Strawberries: Rich in vitamin C and antioxidants, they add a fruity, healthy twist.
- Dark Chocolate: Contains flavonoids that support heart health. (Yes, dessert can be good for you!)
Fun Variations to Try
- Vegan Version: Use vegan cream cheese and coconut whipped cream.
- Gluten-Free: Swap graham crackers for gluten-free cookies.
- Extra Decadent: Add a layer of caramel or Nutella between the cheesecake layers.
Common Mistakes to Avoid
- Overmixing the Layers: This can muddy the colors and flavors. Keep it gentle!
- Skipping the Chill Time: The pie needs time to set, so be patient.
- Using Cold Cream Cheese: It’ll clump and make the filling lumpy. Let it sit out for 30 minutes before using it.
What to Serve With It
Pair this pie with a cup of freshly brewed coffee, a glass of cold milk, or even a scoop of vanilla ice cream for the ultimate dessert experience.
Healthier Swaps
- Swap Heavy Cream for Greek Yogurt: Instead of using heavy cream, which is high in saturated fat and calories, opt for Greek yogurt. Greek yogurt is not only lower in fat but also packed with protein, which can help keep you feeling full longer. It adds a creamy texture and a slight tanginess that complements the sweetness of the apples beautifully. For best results, use plain, unsweetened Greek yogurt to maintain the flavor balance in your cobbler.
- Use Sugar-Free Chocolate Syrup and Reduce Powdered Sugar: If your apple cobbler recipe calls for chocolate syrup or a significant amount of powdered sugar, consider using sugar-free chocolate syrup as a lower-calorie alternative. This swap can significantly cut down on added sugars while still providing that delightful chocolate flavor. Additionally, you can reduce the amount of powdered sugar in the topping or filling. Instead of relying solely on powdered sugar for sweetness, try incorporating naturally sweet ingredients like ripe bananas or applesauce to enhance the flavor without the extra calories.
- Opt for a Nut-Based Crust Using Almonds or Pecans: Instead of a traditional flour-based crust, consider creating a nut-based crust using ground almonds or pecans. This not only adds a delicious nutty flavor but also increases the healthy fat content and fiber of your dessert. To make the crust, simply pulse the nuts in a food processor until finely ground, then mix with a bit of melted coconut oil or butter and a touch of sweetener. This nutritious alternative can provide a satisfying crunch while being gluten-free and lower in carbohydrates compared to standard pie crusts.
More Recipes You’ll Love
Looking for more dessert inspiration? Check out these recipes:
- Shakshuka Recipe
- Triple-Dipped Fried Chicken
- Green Tea Shot Recipe
- The Ultimate Apple Cobbler Recipe
- Snow Ice Cream Recipe
- No-Bake Neapolitan Cheesecake Pie
FAQs
Q: Can I use frozen strawberries for the puree?
A: Absolutely! Just thaw and blend them until smooth.
Q: How long does this pie last in the fridge?
A: It stays fresh for up to 3 days when stored in an airtight container.
Q: Can I make this ahead of time?
A: Yes! It’s actually better when made a day in advance.
Final Thoughts
Why This Pie is a Game-Changer
Alright, let’s wrap this up with a little extra love because this pie deserves it. There you have it—a No-Bake Neapolitan Cheesecake Pie that’s as fun to make as it is to eat. Seriously, it’s the kind of dessert that feels like a celebration, whether you’re serving it at a party or just treating yourself after a long day.
If you’re new to baking (or no baking, in this case), don’t sweat it. This recipe is foolproof, and honestly, it’s hard to mess up. And if you’re a seasoned pro? Well, this pie is still going to wow you with how easy it is to pull off something so stunning.
Get Creative and Share Your Masterpiece
So, grab your mixing bowl, channel your inner pastry chef, and let’s make some magic happen. The best part? You don’t even need to turn on your oven. Just a little mixing, a little layering, and a little patience while it chills. (Okay, fine, the waiting might be the hardest part, but trust me, it’s worth it.)
Oh, and don’t forget to share your creations with us on social media! Tag us, DM us, or just shout it from the rooftops—we’d love to see your masterpiece. Did you add extra chocolate? Maybe some fresh berries on top? Or did you go wild and drizzle caramel all over it? Whatever you do, make it your own.
Time to Dig In
Now, who’s ready to slice into this beauty and take a bite of pure happiness? Go ahead, you’ve earned it. And hey, if you’re feeling extra fancy, pair it with a cup of coffee or a glass of milk. Trust me, it’s the little things that make life sweet.
So, what are you waiting for? Get baking—or no-baking, rather—and let’s make some memories, one delicious slice at a time.

