Let me set the scene for you: It’s a chilly weekend afternoon, and the big game is on. Your friends are over, everyone’s hungry, and you’re looking for something to wow the crowd without breaking a sweat. Enter Skillet Pizza Dip. This isn’t just a snack; it’s the ultimate dip that combines everything you love about pizza—cheese, marinara, and toppings galore—into a dish you can scoop up with crispy garlic bread.
If this sounds like your kind of vibe, you’re in for a treat. This recipe is quick, easy, and honestly, so addictive. Plus, I’ve got some tips to help you nail it every single time.
What’s the Deal with Skillet Pizza Dip?
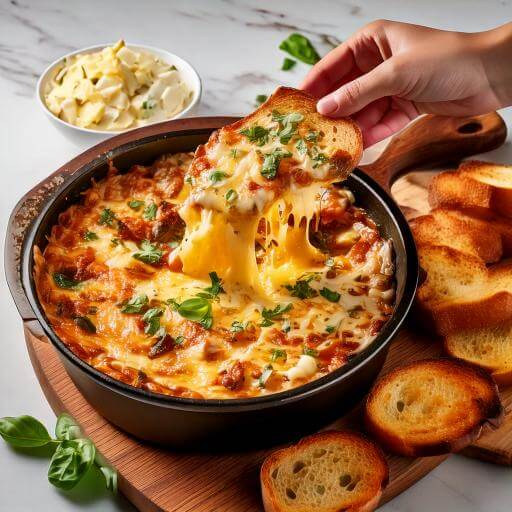
Alright, so here’s the lowdown: Skillet Pizza Dip is like Pizza’s laid-back cousin. It’s all the flavor without the hassle of rolling dough or waiting for the oven to preheat. You’ve got layers of creamy cheese, zesty marinara, and your favorite pizza toppings, all baked into a bubbly, golden skillet.
Oh, and did I mention it’s customizable? Whether you’re a pepperoni purist or a veggie-lover, you can make this your own. I picked up this recipe while scrolling through Shoop Recipes, and let me tell you—it’s been a game changer.
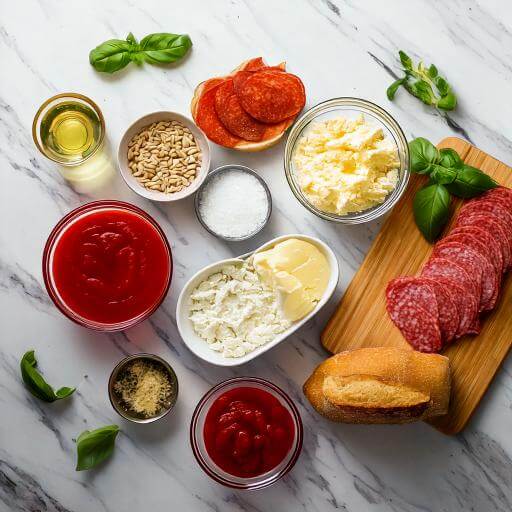
Ingredients You’ll Want to Have Handy
Here’s the short shopping list. Chances are, you already have most of this in your kitchen:
- Olive oil – Just a splash to get things sizzling.
- Italian sausage – Spicy, mild, or even turkey sausage works.
- Onion and garlic – These are the holy grail of flavor.
- Marinara sauce – Use a good one (or make your own if you’re feeling ambitious).
- Cream cheese – It’s the base layer that ties everything together.
- Mozzarella and Parmesan – Because, duh, cheese.
- Toppings: Pepperoni, mushrooms, olives—whatever your pizza heart desires.
For a deeper dive into flavor combos, check out this fun piece on perfectly fluffy pancakes with fresh strawberries—trust me, it’s worth it for inspiration.
Making Your Skillet Pizza Dip
Ready to get started? Here’s the play-by-play:
Step 1: Cook the Sausage
Heat a little olive oil in your skillet and toss in the sausage. Break it up with a spatula and cook until it’s browned. Add in the onions and garlic, letting them soften up and release that amazing aroma.
Pro Tip: If you’re vegetarian, swap the sausage for sautéed mushrooms or a plant-based alternative. It’s just as good—promise.
Step 2: Build the Layers
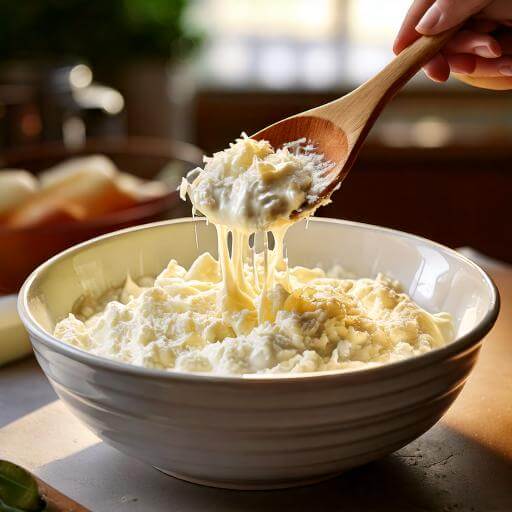
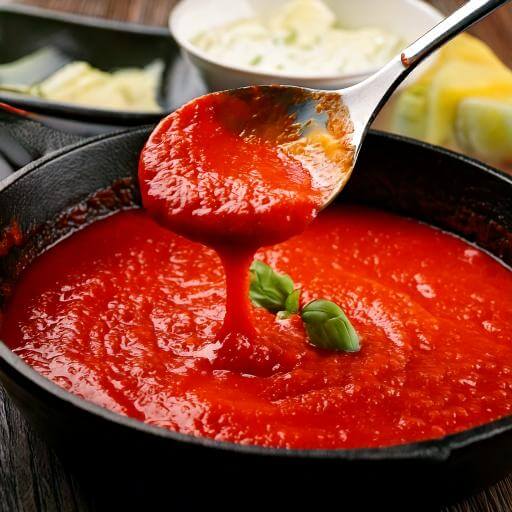
Spread softened cream cheese across the bottom of your skillet. It’s okay if it’s not perfect—rustic is the name of the game. Layer on the marinara sauce, followed by your sausage mixture.
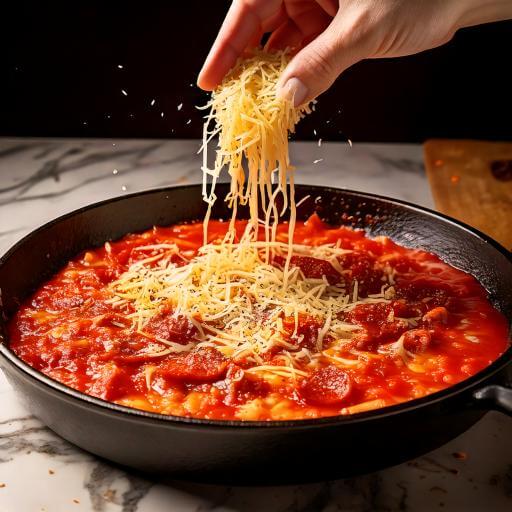
Then comes the cheese: a generous handful of mozzarella, some Parmesan, and any extra toppings. I love tossing in a few slices of pepperoni for that classic pizza vibe.
Step 3: Bake It to Perfection
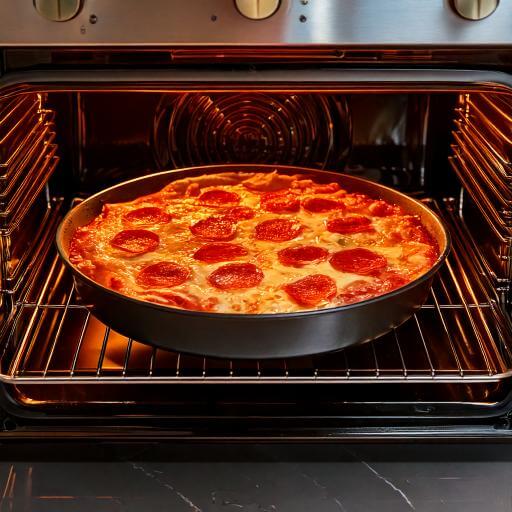
Pop the skillet into a 375°F oven for about 15 minutes, or until the cheese is bubbling and golden. If you want that Instagram-worthy, slightly crispy top, switch to broil for the last minute or two. Just don’t walk away—burnt cheese is a tragedy we can’t afford.
For more cheesy goodness, you might enjoy this recipe for luscious plum and raspberry cake. It’s a sweet way to round out your meal.
Garlic Breadsticks: The Dippers You Deserve
Now, you could grab a bag of chips and call it a day—nothing wrong with that—but let’s aim for something a little more impressive. Trust me, when you pair Skillet Pizza Dip with homemade garlic breadsticks, it’s like creating the perfect foodie duo. These golden, buttery slices are crispy on the outside, soft on the inside, and packed with bold garlic flavor. Honestly, they’re so irresistible they might just steal the spotlight—or, at the very least, make your dip taste even better.
Here’s the deal: great garlic breadsticks aren’t complicated, but they are all about the details.
Step 1: Start with the Bread
It all begins with the right loaf. Grab a fresh baguette from your local bakery or grocery store—something crusty and dense enough to hold its shape under the weight of all that cheesy goodness. A French loaf works just as well, but steer clear of pre-sliced sandwich bread. It’s too flimsy and won’t give you that satisfying crunch. Slice your baguette on a diagonal, creating sturdy pieces that look just as good as they taste.
Step 2: Butter It Up
Here’s where the magic starts. Melt a generous amount of butter—don’t even think about skimping! Stir in freshly minced garlic (the more, the better) to create a rich, aromatic mixture. Brush each slice of bread generously, making sure every inch gets a little love. If you’re a garlic fanatic like me, feel free to sprinkle in some Italian herbs for an extra pop of flavor.
Step 3: Sprinkle the Magic
Now for the Parmesan. Before the bread hits the oven, dust each slice with a generous layer of grated Parmesan. This adds a salty, nutty bite that’s downright addictive. Bonus points if you have some parsley on hand—sprinkle that on for a pop of color and a little herby freshness.
Step 4: Toast to Perfection
Lay your bread slices on a baking sheet in a single layer. Pop them into a 375°F oven and toast for 8–10 minutes. Keep an eye on them! You’re aiming for a light golden crust that’s crispy enough to handle a heavy scoop of dip but still soft and pillowy inside. If you want a little extra crunch, flip on the broiler for the last minute or two.
The Result: Breadsticks Worth Bragging About
And there it is—perfectly toasted, buttery garlic breadsticks that are basically a dish in their own right. They’re rich, savory, and so good they’ll have people sneaking extras even before the Skillet Pizza Dip hits the table. Honestly, these breadsticks are like the Robin to your dip’s Batman—a dynamic duo that leaves everyone cheering for more.icks that are buttery, garlicky, and downright addictive. Pro tip: Make extra. Trust me, these will disappear before you even get to the dip. Honestly, I sometimes make these just to snack on because they’re that good.
Why You’ll Love This Recipe
So there you have it—Skillet Pizza Dip is your golden ticket to instant party stardom. It’s the dish with everyone crowding around the table, scooping up every last bite while asking, “Who made this?” Seriously, it’s a conversation starter, a show-stopper, and a memory-maker all rolled into one skillet. Whether you’re bringing it to a tailgate, or potluck, or just serving it for a chill night at home, this dip delivers.
And the best part? The toppings are where you can let your personality shine. Are you a classic pepperoni-and-olive kind of person, or do you like to keep it bold with jalapeños and spicy sausage? Maybe you’re the kind of rebel who throws in pineapple slices (hey, no judgment—go you!).
Once you’ve tried it, I promise you’ll start experimenting—think BBQ chicken, spinach, and artichoke, or even a breakfast version with scrambled eggs and bacon. Try it out and let me know what combos you come up with! Who knows, your take might just become the new crowd favorite.
And if you’re into quick, comfort-food-style recipes, take a look at traditional bundt cake with raisins. It’s another one of my go-to crowd-pleasers.
FAQs About Skillet Pizza Dip
Q: Can I make this ahead of time?
Absolutely, and this is one of the reasons it’s such a great recipe. Assemble the dip right in your skillet or baking dish, then cover it tightly with foil or plastic wrap and pop it in the fridge. It’ll hold up beautifully for up to a day. When it’s time to serve, pull it out, let it sit at room temperature for 15–20 minutes (if you have the time), and bake as instructed. This is a lifesaver if you’re hosting a party and want to knock out prep ahead of time without losing any of that fresh-baked magic.
Q: What can I use if I don’t have a skillet?
No skillet? No worries! A standard baking dish or even a deep pie dish works just fine. You might lose a bit of the rustic, straight-from-the-pan presentation, but the flavor? Oh, that stays the same—gooey, cheesy, and delicious. If you’re feeling creative, a cast-iron Dutch oven or even an oven-safe casserole dish can double as a skillet alternative. Just make sure it’s the right size to keep those layers cozy and intact.
Q: How do I store leftovers?
First of all, if you have leftovers, congratulations—you’ve got some serious self-control. To keep that cheesy goodness fresh, transfer it into an airtight container and store it in the fridge for up to three days. When you’re ready to dig in again, reheat individual portions in the microwave for about 1–2 minutes. For that fresh-from-the-oven taste, reheat the whole thing in a preheated oven at 350°F until warmed through, about 10–15 minutes. Pro tip: Add a little fresh mozzarella or Parmesan on top before reheating to bring back that melty magic.
Bonus Question: Can I freeze it?
You bet! Assemble the dip, skip the baking, and wrap it tightly with plastic wrap and foil before freezing. It’ll keep for about a month. When you’re ready to serve, thaw it in the fridge overnight, then bake as usual. It’s a game-changer for those weeks when you’re craving something indulgent but don’t have time to start from scratch.
So there you have it—the dish guaranteed to be your next party’s life. Try it out, and let me know what toppings you go for!

